
How to Implement Column-Level Security in Snowflake?
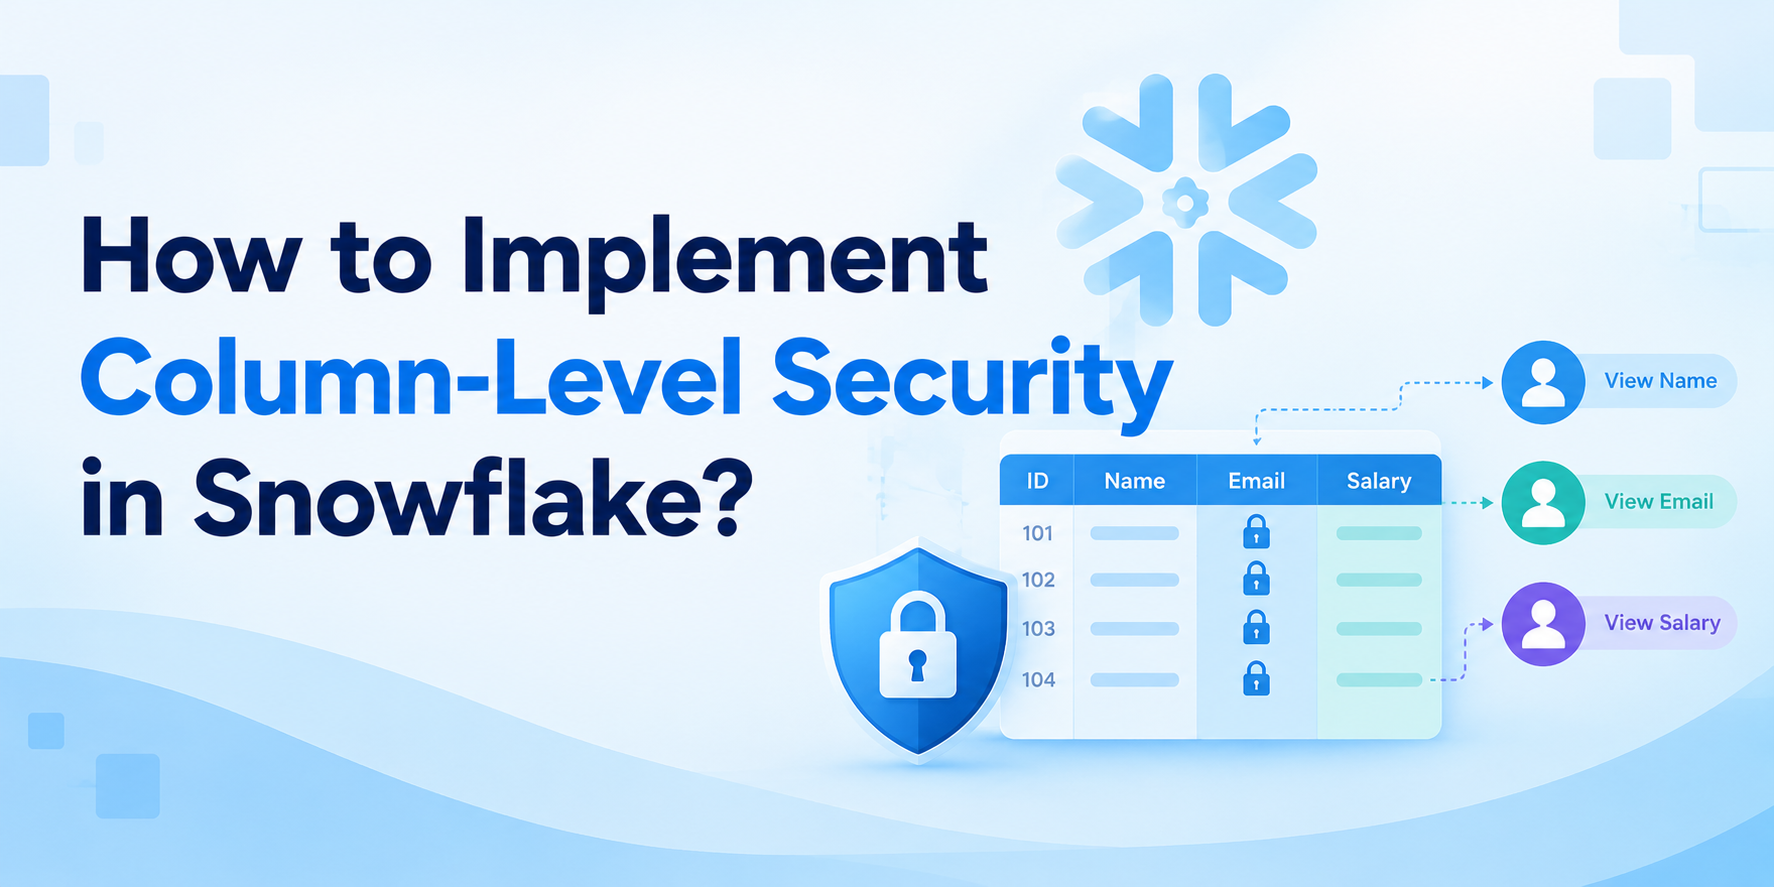
Not every piece of information in a database should be visible to every user. A business analyst may need customer names and order details, while sensitive information such as phone numbers, email addresses, or financial data may need additional protection. Giving users access to an entire table can therefore create unnecessary security risks. This is where column-level security becomes useful. Snowflake provides features such as masking policies and tag-based masking that can help organizations control how sensitive columns are exposed. For professionals building practical cloud data skills, Snowflake Training in Chennai can be a useful way to understand these security concepts and apply them to real-world data scenarios.
What Is Column-Level Security?
Column-level security is a method of controlling access to individual columns within a dataset.
Suppose a customer table contains:
|
Customer ID |
Name |
|
Phone |
Credit Score |
|
101 |
Arun |
arun@example.com |
9876543210 |
760 |
|
102 |
Priya |
priya@example.com |
9123456780 |
720 |
A marketing analyst might need the customer's name and email address but may not need access to a credit score.
Instead of completely blocking access to the table, column-level security allows organizations to protect specific sensitive columns.
This provides a more flexible approach to data security.
Why Is Column-Level Security Important?
Modern organizations collect large amounts of sensitive information. Customer details, financial records, employee information, and confidential business data may all exist within the same data platform.
If every user can see every column, there is a greater risk of accidental or unauthorized exposure.
Column-level security helps organizations follow the principle of least privilege.
The basic idea is simple:
Give users access to the information they need — and protect the information they don't.
This is particularly useful for organizations that need to support analytics while still protecting sensitive data.
How Does Snowflake Protect Individual Columns?
Snowflake provides several capabilities for implementing column-level security. One of the most important is Dynamic Data Masking.
A masking policy defines how a column's value should be displayed based on the user's role or other conditions.
For example, an administrator might see:
9876543210
while an analyst sees:
XXXXXX3210
The underlying value remains stored in Snowflake, but the value presented to the user can be controlled by the policy.
Step 1: Identify Sensitive Columns
Before creating a security policy, determine which columns actually require protection.
Common examples include:
-
Email addresses
-
Phone numbers
-
Government identification numbers
-
Credit card information
-
Salary information
-
Bank account details
-
Customer addresses
-
Confidential business information
Not every column needs masking.
Overprotecting ordinary fields can make analytics unnecessarily difficult, so security teams should identify sensitive information based on business and regulatory requirements.
Step 2: Decide Who Can See the Original Data
The next step is to determine which users or roles should have access to the unmasked values.
For example:
Data Administrator → Full access
Security Team → Full access
Business Analyst → Masked values
General Reporting User → Masked values
This role-based approach makes the policy easier to manage.
Snowflake's role-based access model can be combined with masking policies to create these rules.
Step 3: Create a Masking Policy
Snowflake allows administrators to create masking policies using SQL.
A simplified example might look like:
CREATE OR REPLACE MASKING POLICY email_mask
AS (email STRING)
RETURNS STRING ->
CASE
WHEN CURRENT_ROLE() = 'DATA_ADMIN'
THEN email
ELSE '********'
END;
This example demonstrates the basic idea: authorized roles can see the original value, while other roles receive a masked result.
The exact policy should be designed according to the organization's roles, security requirements, and data types.
Step 4: Utilize a Column's Policy
After creating the masking policy, it can be applied to the sensitive column.
For example:
ALTER TABLE customers
MODIFY COLUMN email
SET MASKING POLICY email_mask;
Now the policy becomes part of the column's security behavior.
When users query the table, Snowflake evaluates the masking policy and determines which value should be returned.
Step 5: Test the Policy
Never assume a security policy works correctly just because the SQL executed successfully.
Testing is an important part of implementation.
Data teams should test the protected column using different roles.
For example:
Administrator: Should see the original value.
Analyst: Should see the masked value.
Restricted User: Should receive the level of protection defined by the policy.
Testing helps identify configuration mistakes before the policy is used with production data.
What Is Dynamic Data Masking?
Dynamic data masking means that the data itself does not necessarily have to be permanently changed.
Instead, Snowflake determines what value should be displayed when a user queries the protected column.
This is useful because organizations can maintain the original data while controlling its visibility.
For example, the database can continue storing:
9876543210
while a restricted user may see:
XXXXXX3210
The result depends on the security policy and the user's authorization.
Full Masking vs Partial Masking
Organizations do not always need to hide an entire value.
Sometimes partial masking is more useful.
For example, a phone number could appear as:
XXXXXX3210
An email address could potentially be displayed in a partially masked form, depending on the organization's requirements.
Partial masking allows analysts to recognize or match records without exposing the complete sensitive value.
However, the masking strategy should be carefully designed so that the visible portion does not unintentionally reveal sensitive information.
Tag-Based Masking
Managing security policies individually can become difficult when an organization has hundreds of sensitive columns.
Snowflake also provides tag-based masking capabilities.
Organizations can use tags to classify sensitive data, such as:
-
PII
-
Financial
-
Confidential
-
Customer Data
A masking policy can then be associated with a classification approach.
This can make security management more scalable because data teams can manage protection based on data classification rather than manually configuring every column separately.
Column-Level Security vs Row-Level Security
Although they address different issues, these two ideas are connected.
Column-level security controls which values within a column a user can see.
Row-level security controls which records a user can access.
For example:
A regional manager may be allowed to see only Chennai sales records. That's a row-level restriction.
At the same time, the manager may be allowed to see customer names but not complete phone numbers. That's a column-level restriction.
Using both approaches together can create a much stronger security model.
Benefits of Column-Level Security
Implementing column-level security in Snowflake can provide several advantages.
Protects Sensitive Information
Sensitive fields can be masked while the rest of the dataset remains available for analytics.
Supports Least Privilege
Users receive only the level of visibility required for their responsibilities.
Keeps Data Usable
Teams can continue analyzing protected datasets without necessarily exposing sensitive values.
Centralizes Security
Policies can be managed within Snowflake rather than relying entirely on application-level filtering.
Supports Data Governance
Classification and masking can become part of a broader data governance strategy.
Best Practices
When implementing column-level security, keep these practices in mind:
Identify sensitive data first: Do not apply masking randomly.
Use roles carefully: Clearly define which roles can view original values.
Test every policy: Verify behavior with multiple user roles.
Keep policies simple: Complicated security logic can become difficult to maintain.
Use consistent naming: Clear policy names make administration easier.
Review access regularly: User responsibilities can change over time.
Combine security controls: Use masking alongside RBAC, authentication, row access policies, and monitoring.
Common Mistakes to Avoid
One frequent mistake is assuming that masking alone provides complete data security.
Masking protects how values are displayed, but users still need appropriate permissions to access the underlying objects.
Another mistake is exposing too much information through partial masking. Even a partially visible value can sometimes reveal more than intended.
Finally, organizations should avoid creating different security rules for every individual user when role-based or tag-based approaches can provide a cleaner solution.
Final Thoughts
Column-level security is an important part of protecting sensitive information in Snowflake. By using capabilities such as dynamic data masking, masking policies, and tag-based masking, organizations can allow users to work with valuable datasets without exposing information unnecessarily.
The most effective approach starts with understanding the data, identifying sensitive columns, defining access requirements, creating appropriate policies, and testing those policies with different roles.
When column-level security is combined with row-level security, RBAC, authentication, and monitoring, organizations can build a more complete data protection strategy.
For learners who want to develop practical knowledge of Snowflake security, SQL, and modern data engineering workflows, Qmatrix Technologies can help build hands-on skills that connect Snowflake concepts with real-world data management scenarios.

 English
 Arabic
 French
 Spanish
 Portuguese
 Deutsch
 Turkish
 Dutch
Dutch
 Italiano
 Russian
 Romaian
 Portuguese (Brazil)
